|
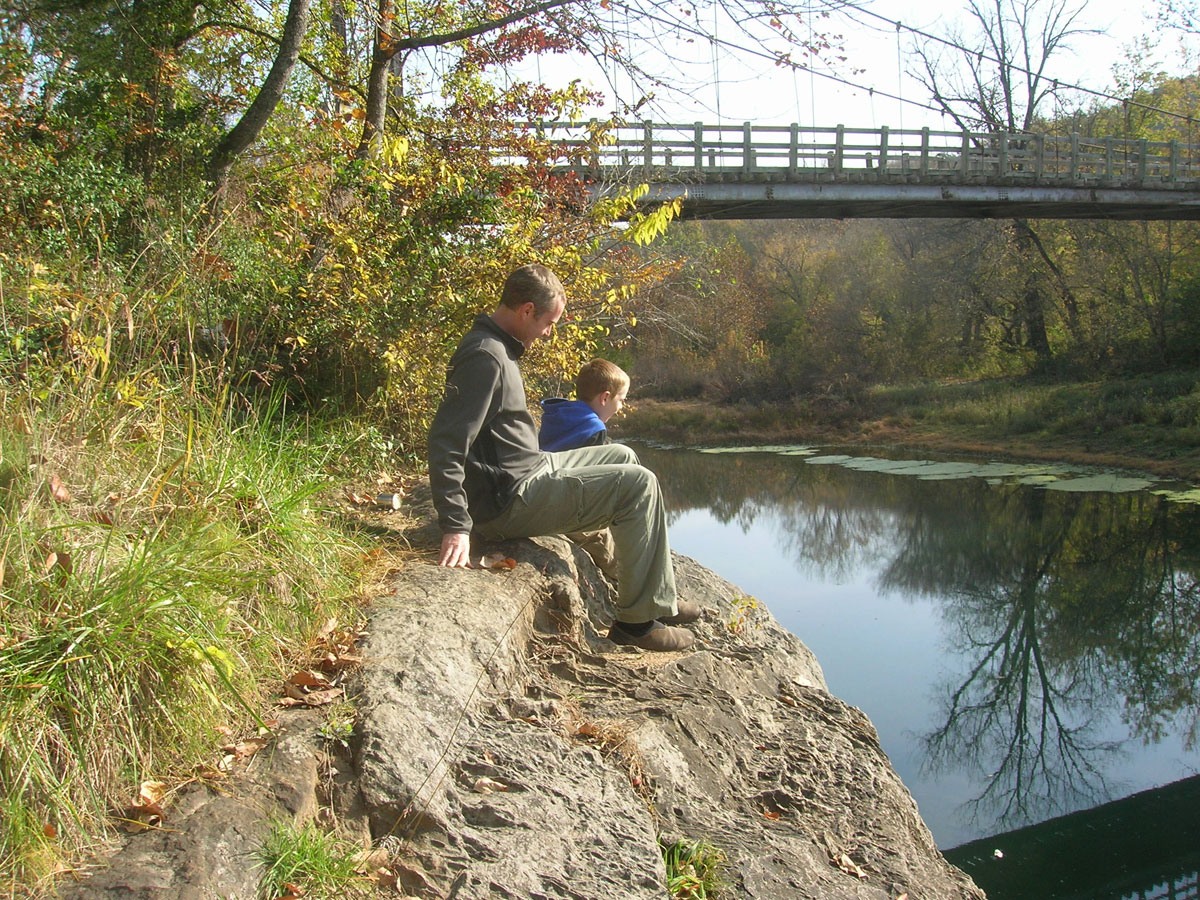
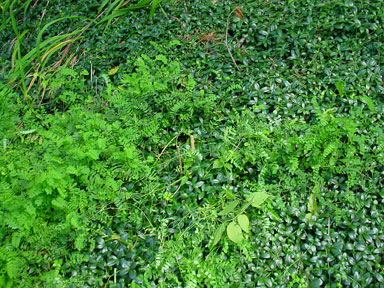
Trail making often starts when there is a pretty cool spot to
get to, like this cliff by the swinging bridge. Ben and Parker could get there OK, but there were a few sticker bushes in
the way.
|
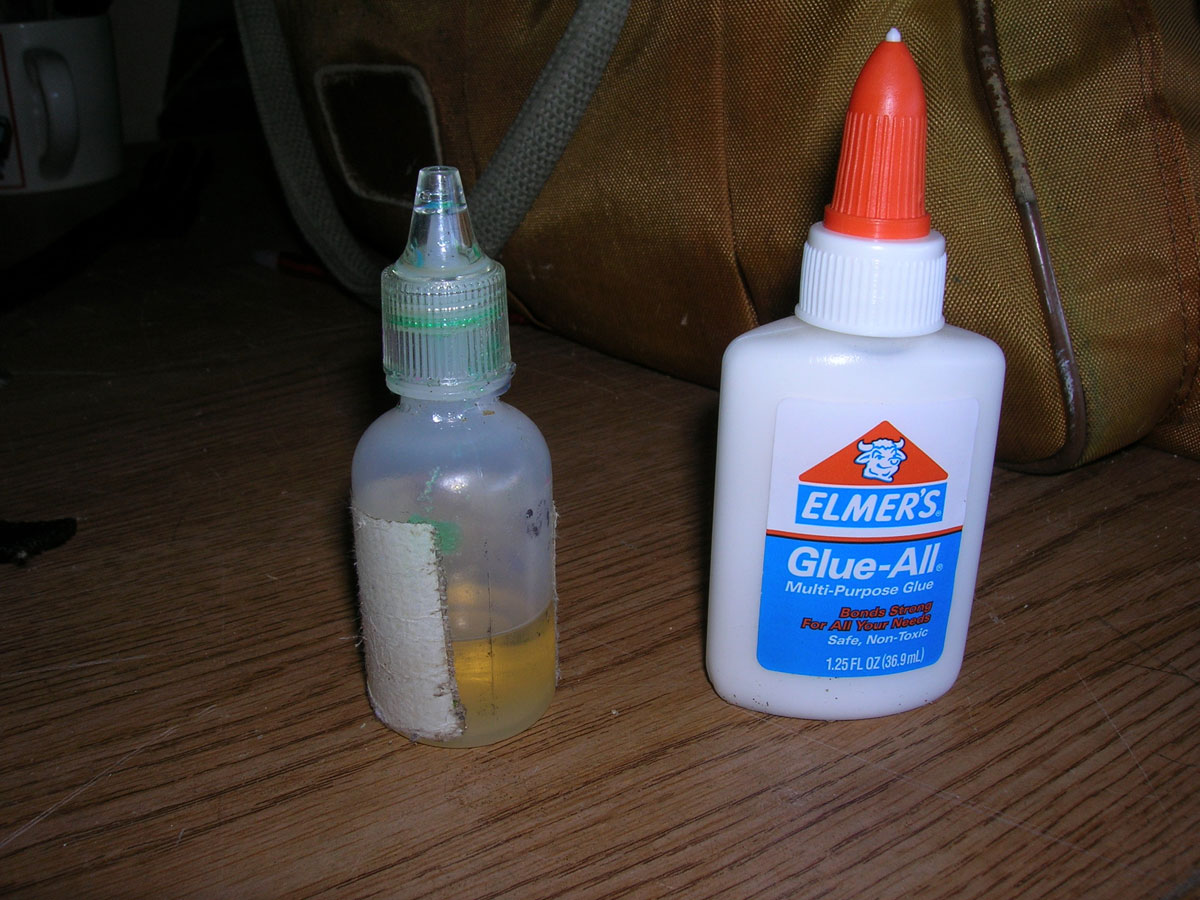
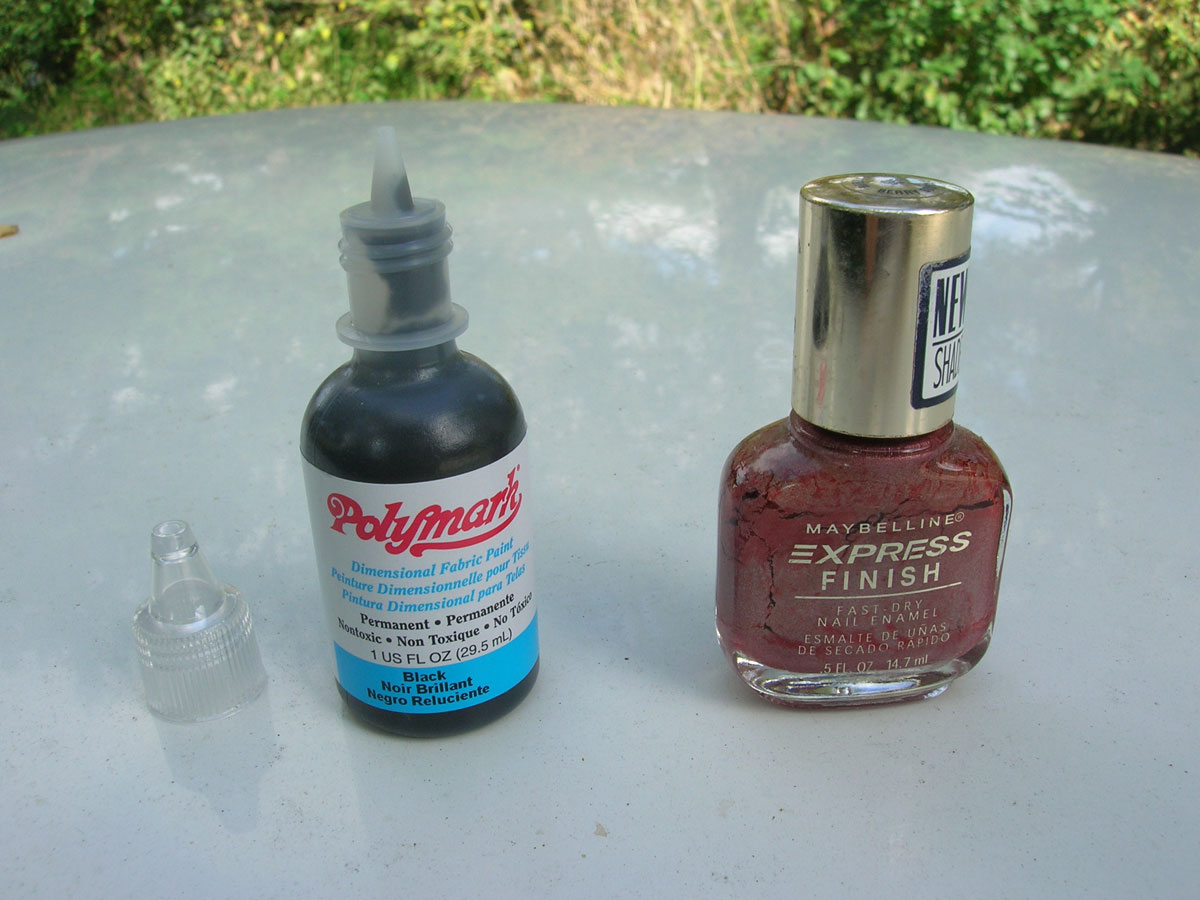
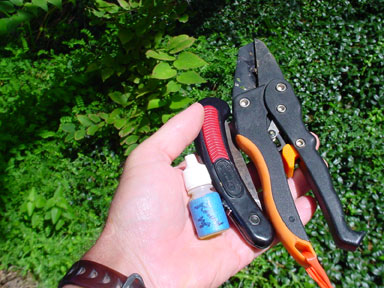
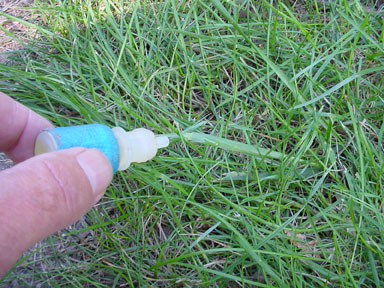
Here are a few more
examples of “clip ‘n drip” bottles. In the crafts department you can find “cloth paint” or various
glitters in great little bottles with sort of needle noses. These are my favorites. Or glue bottles. Or fingernail paint bottles
(marginal - harder to clean, and I like tiny drips more than brushing). |
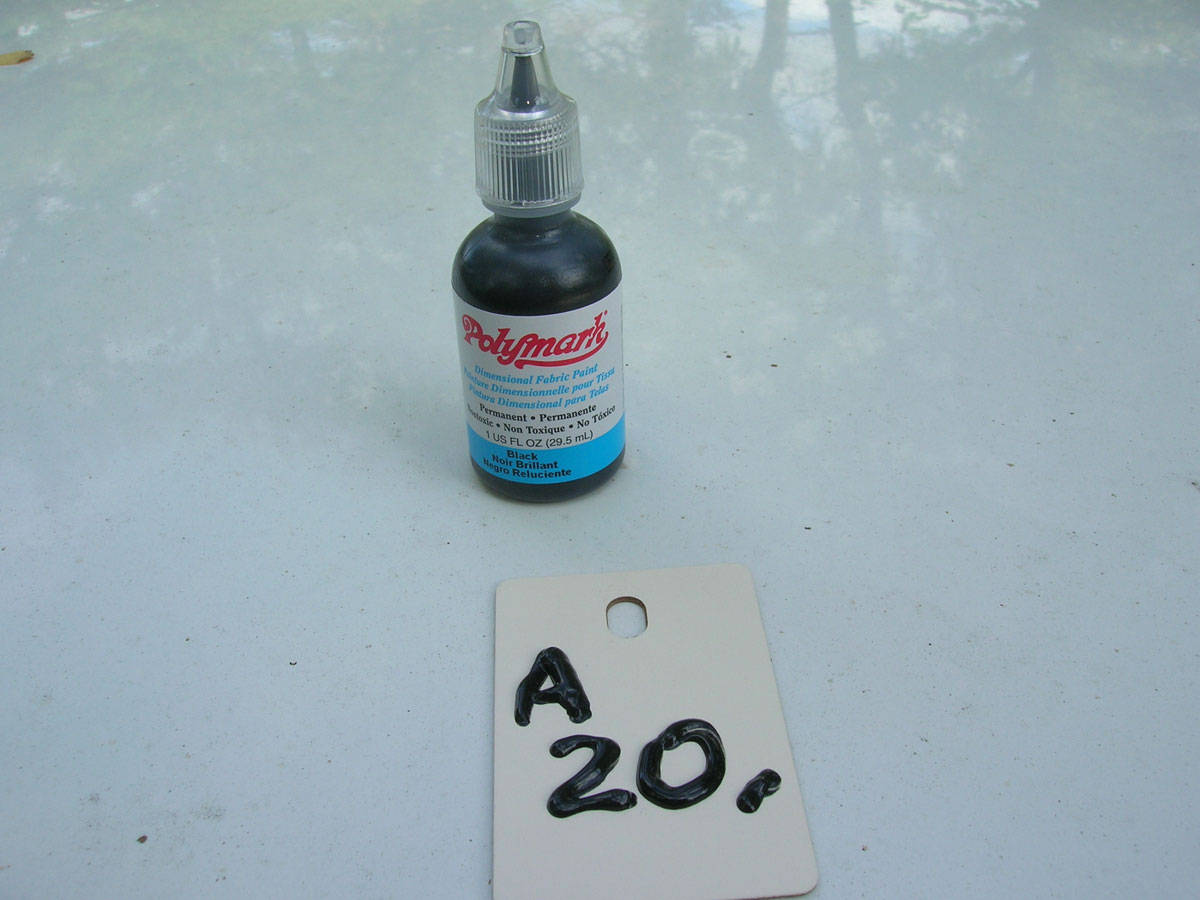
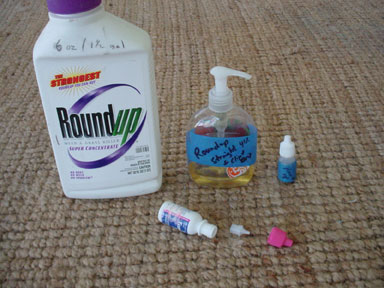
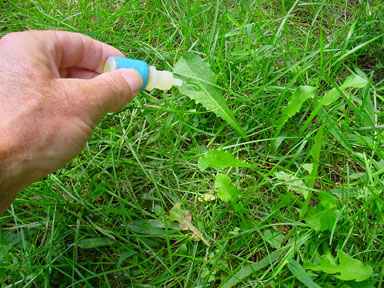
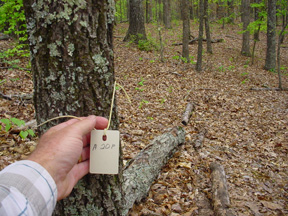
Rather than just toss the cloth paint, it can be used to make
vivid trail markers. Not sure how long these last, tho, so while testing I still use the tried and true grease pen. (This marker is for the A trail, 20 paces from the beginning.)
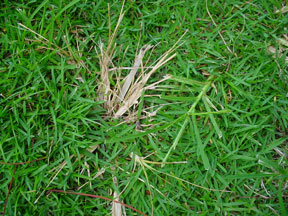
Sometimes you need to cut down real trees. This is always the
case in making roads. Since I wanted to drive on the road as soon as I made it, I started cutting the stumps super short.
First cut the tree down normally, then the stump is dug out a bit with the small pick. (There is always a mound around trees.)
Once I moved the dirt and rocks, I wailed with the chainsaw, half expecting to dull the chain. Nothing noticeable so far.
And this is far easier than burning a stump.
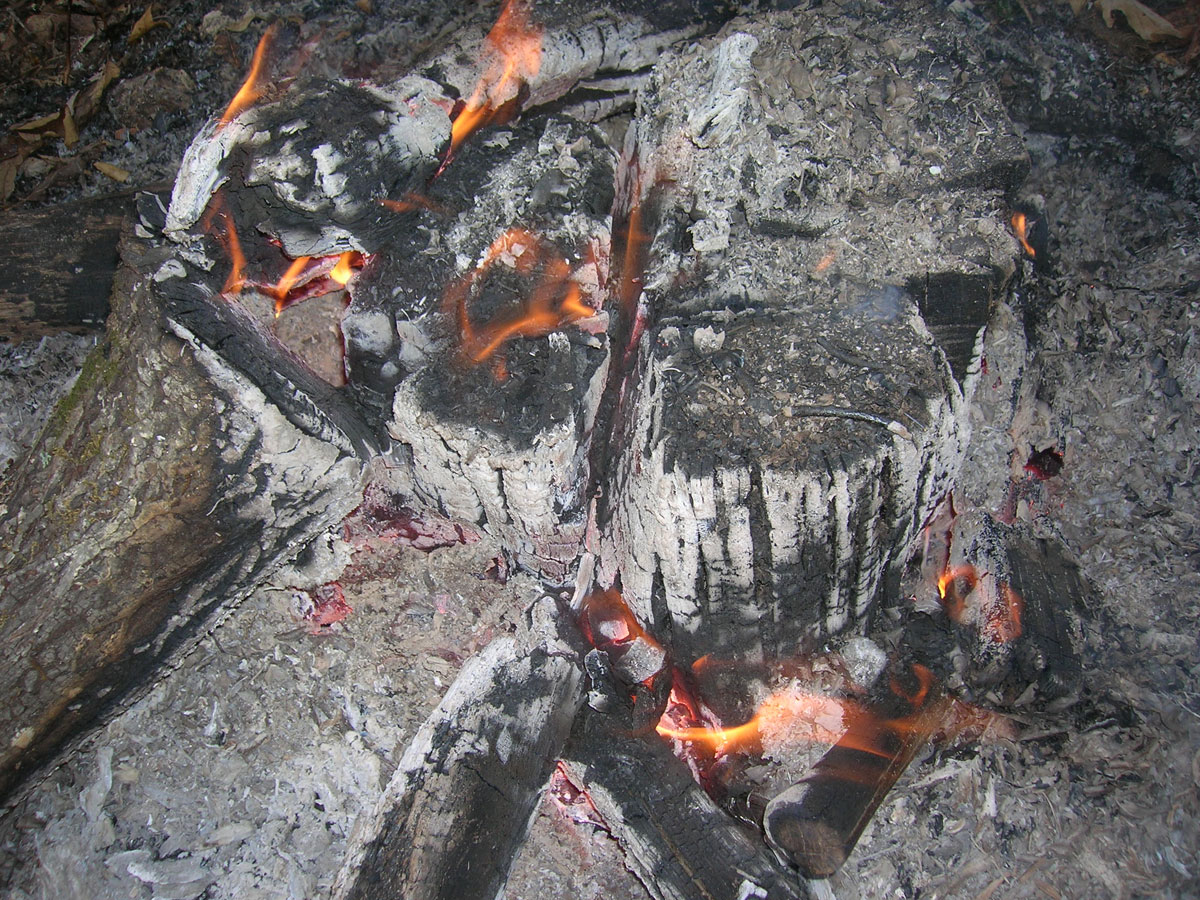
The vertical cuts help get rid of the stump, both by collecting
water to rot it, or if you are burning later they help the fire.
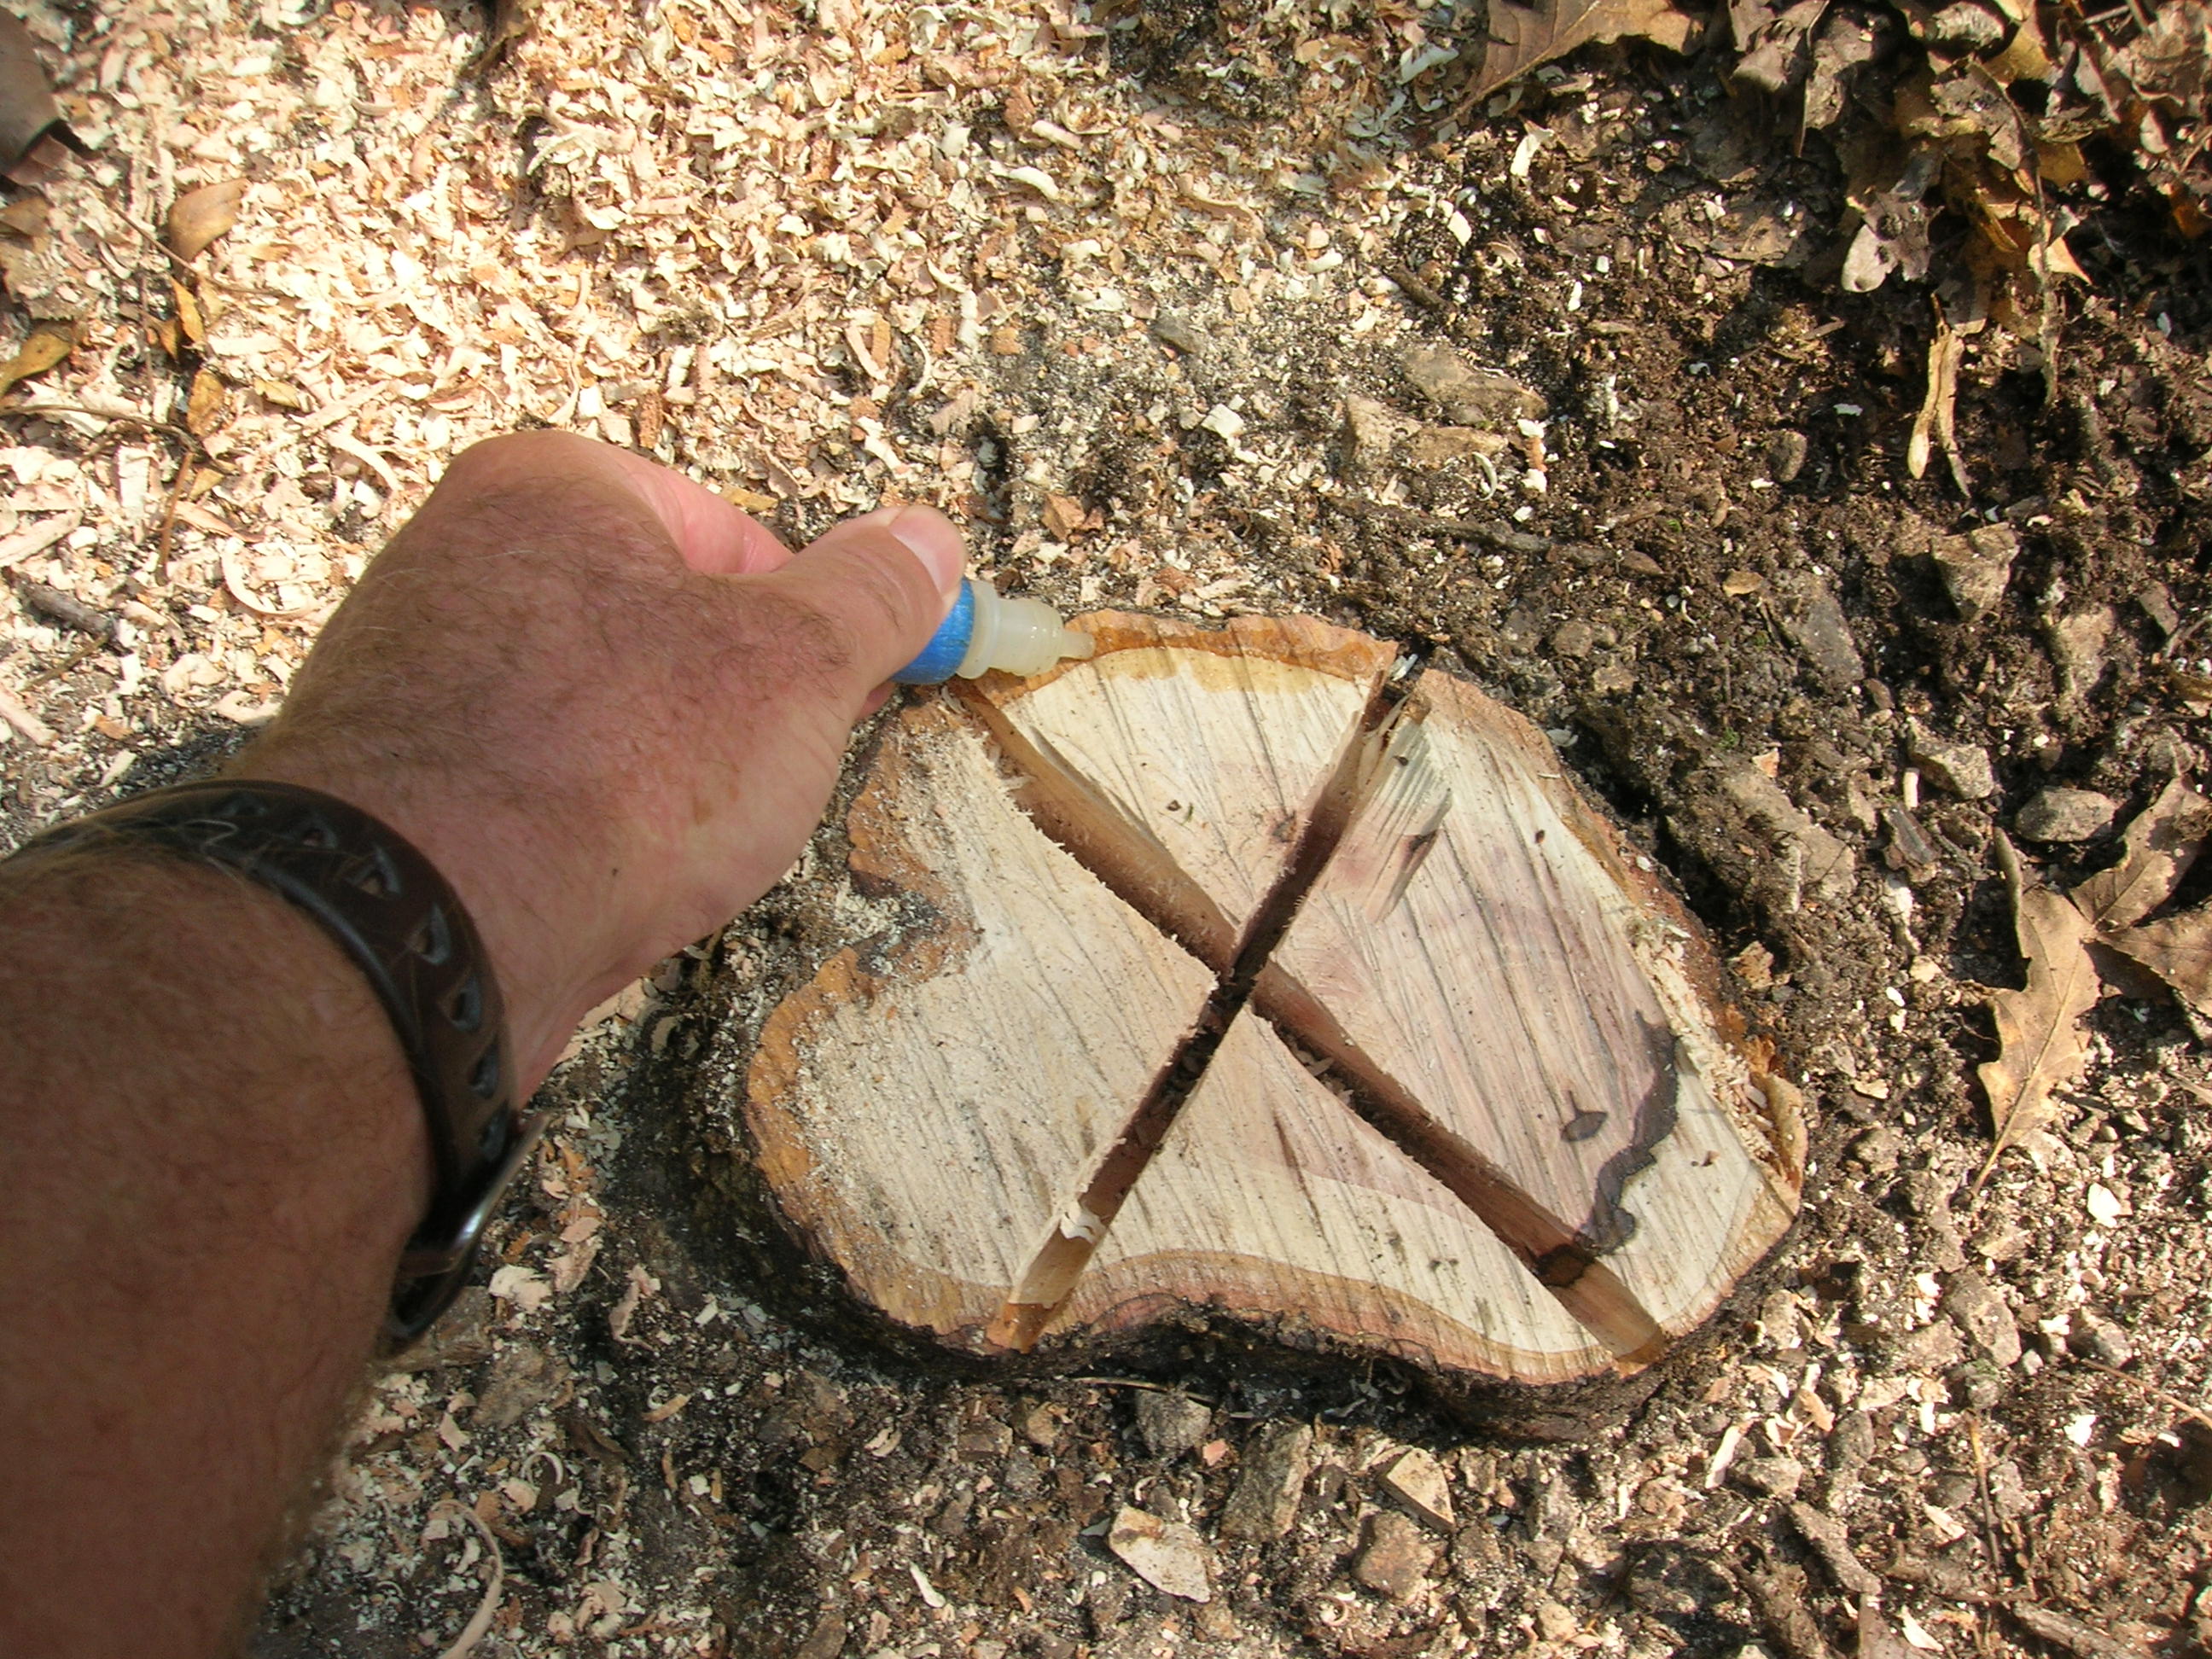
For clip ‘n drip with a big tree you only have to put
the sauce on the new bark up next to the wood. (These are the phloem tubes, which go down to the roots. The main wood is xylem
tubes, which take water up to the leaves.)
Quick fire shot – notice the vertical cuts are full of
flames on this old stump. This was a long dead stump, fairly easy to burn, but the cuts are still a huge help.
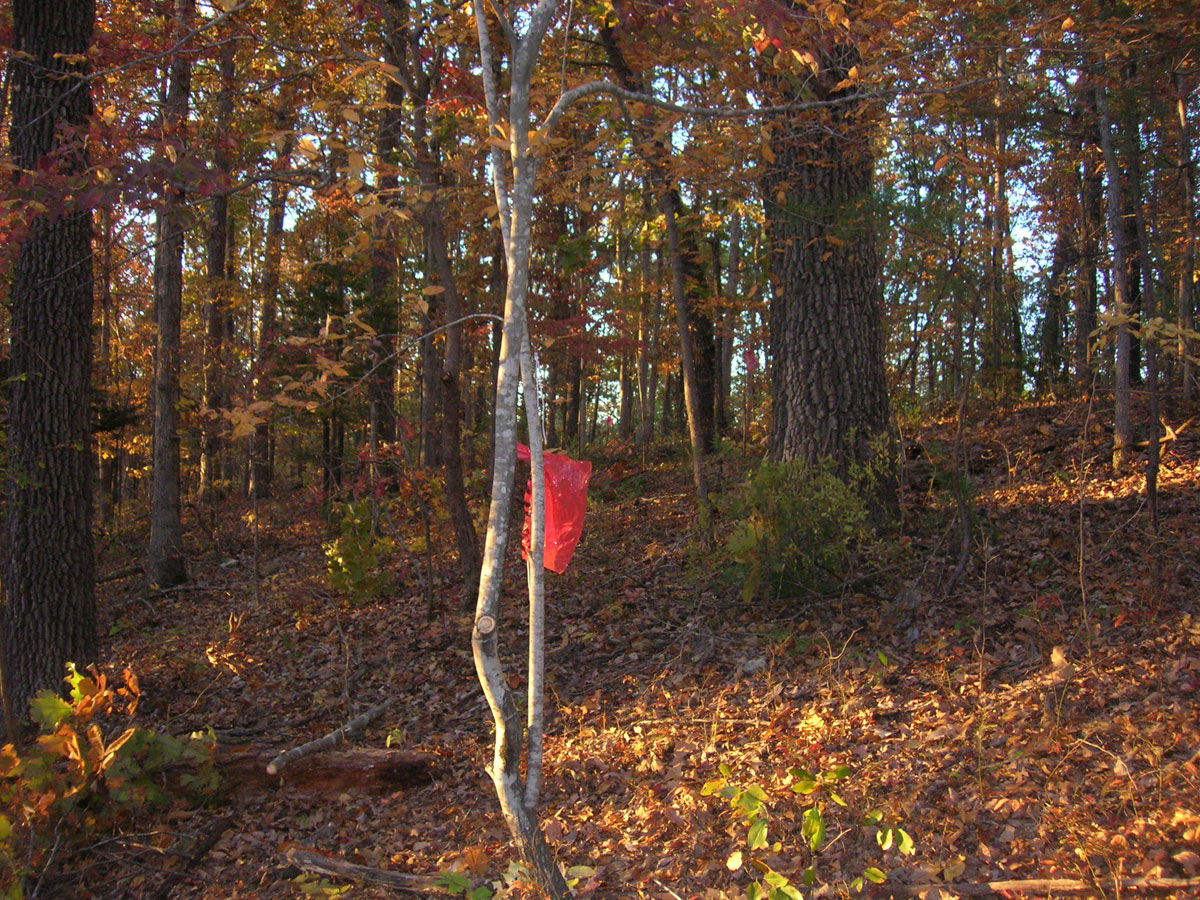
Temporary markers are ideally big and wave in the breeze. The
first stage of trail or road making is usually setting up a crude line of sight. In the picture you can see a red lumber store
flag in the foreground, and if you look carefully you may see a faint one off in the distance. In this case I am making a
road (so far called “red flag road”- clever, eh? - , on the back third). I knew where I wanted the road to begin
and end, but the woods are so thick every time I’d try to walk from one to the other I’d end up wrong. So I hung
the red flags at each end, then made a few passes back and forth - with either the pocket saw or the chainsaw, and eventually
got the line of sight.
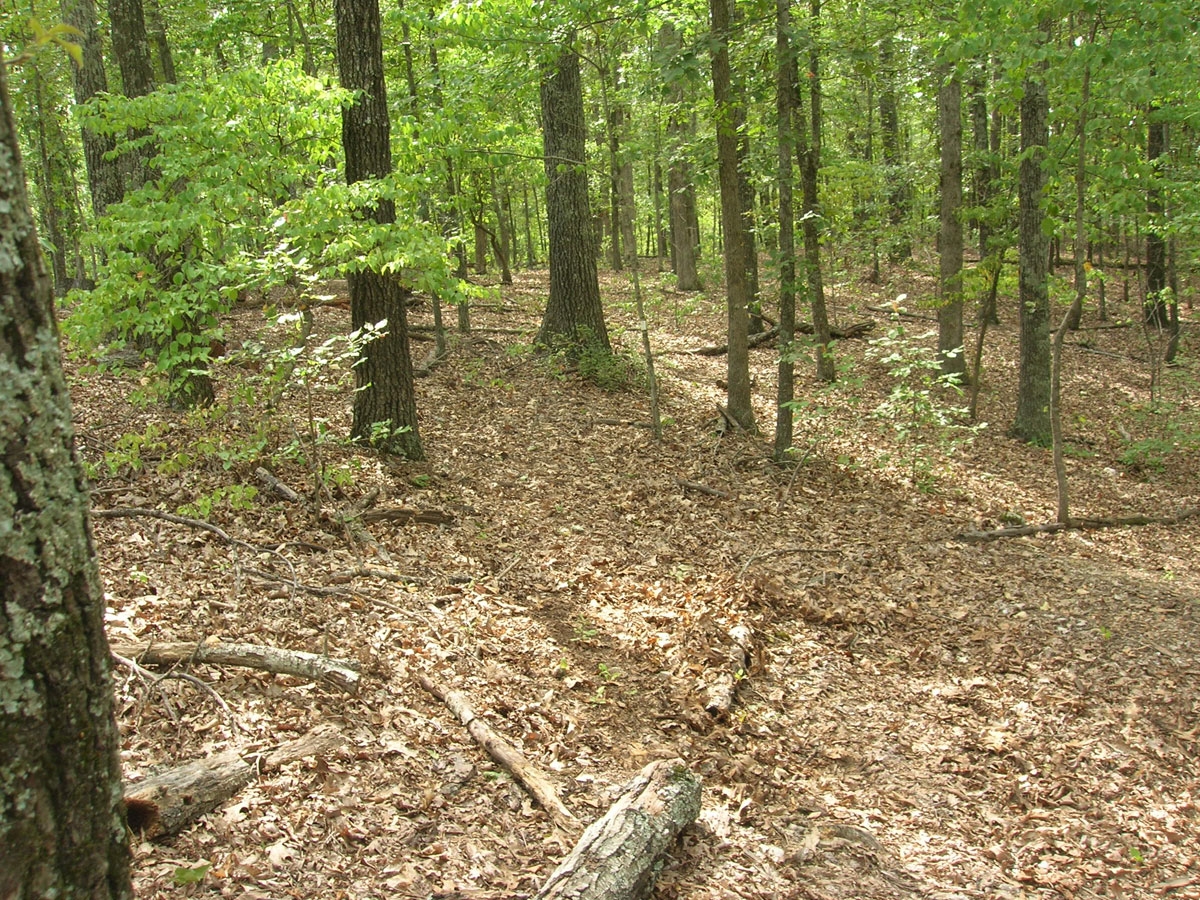
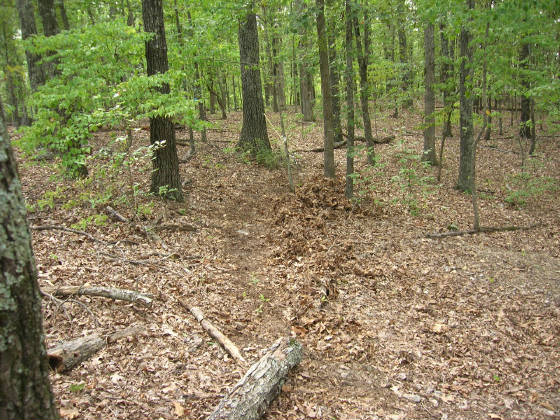
Most trails in the deep woods are just a matter of raking. Here
are before and after pix of a little trail.
Raking marks
the trail, and it gives you good footing (there are the occasional holes where a tree died, stumps, and loose rocks that will
be exposed when you rake).
On to next page (poison ivy)
Click here to go back to the work page on main Ponder Mostly site.
|